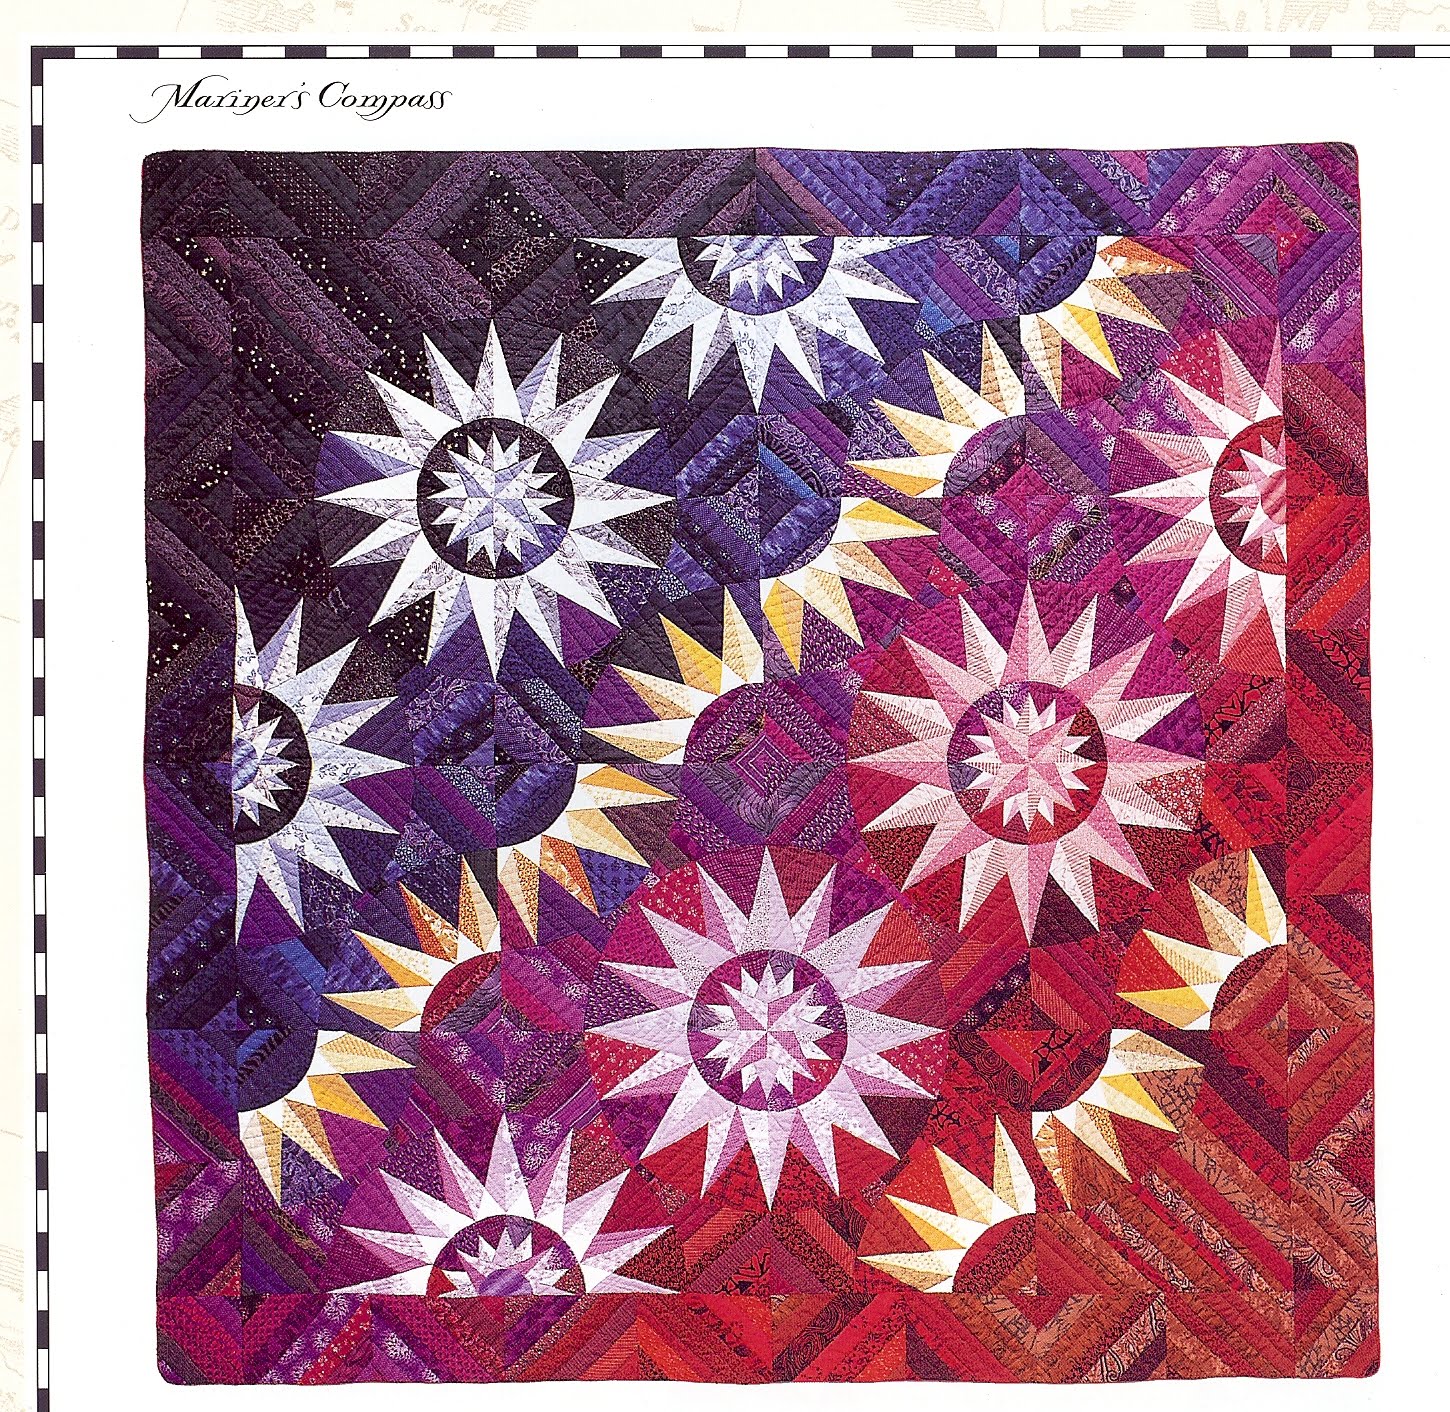
Finally, the visitors had departed and I was alone with my fabric and my quilt pattern. I decided to settle down with a cup of coffee and the book: Mariner's Compass, New Directions, by Judy Mathieson, and finally read the directions and figure out how I was going to make this quilt. The desciption started on page 83. Four pages followed of template patterns and 1/4 page of a "suggestion" of how to assemble the inner star with the star ring. The second paragraph on page 83 begins "Space does not allow me to offer detailed instructions on how to assemble the complete Starfire quilt." Hmmm.
Undaunted, I find Judy Mathieson's website and dash off an email, asking her if she has any more detailed directions for the quilt. A few days later, she replied. No, she didn't have any further instructions, but she had seen versions of the quilt, so other people had made it. She wished me luck.

My first job was to figure out how to modify the pattern to make a king-size quilt. The Pattern directions said that the diameter of the star was 25 in., but I needed to figure out how many stars to fit in a larger quilt. I made many photocopies and cut and repasted circles, half-circles and arcs to make what I thought would be a 110" x 110" quilt. (I always prefer to make my quilts square so they can be put rotated on the bed and wear evenly.) Using the pattern in the book as a guide, I figured out the scale I needed. My final pasted together design required 11 stars--9 whole stars and 4 halves. The pattern in the book called for 5 stars--3 whole and 4 halves. Wow, that was a whole bunch more stars. I reasoned that if my calculations weren't correct, I would find out after I made the first star and remeasured everything.

I began to make templates by photocopying onto cardstock. They proved too flimsy to use more than once or twice. So I bought a sheet of plastic template material and made all the templates in the book, both with and without 1/4 in seam allowances. I cut out enough fabric to make one star. (Great idea). I quickly found out it was very difficult to sew the small star accurately just with normal sewing, despite Ms. Mathieson's advice that accurate measuring and sewing works very well. So I made photocopies of the templates from the book, glued them together on another piece of paper to make larger templates which I could use for freezer-paper piecing. I bought a pack of 30 sheets of freezer paper onto which I could photocopy my new templates. Through much experimentation, ironing on of freezer paper, sewing through freezer paper and having to rip it off, I made my first small, inner star. Mid-way through I realized that if I followed her assembly diagram, I was faced with a "Y" seam. (See above layout.) Not just one, but twelve per star. There had to be a better way Finally I figured it out and I'll share those directions here in a later post.
The outer ring was much easier, as the points were bigger and I could practically breeze through it after the smaller center star. I could maneuver the larger pieces more easily and the freezer paper stabilized them. I also learned that, after pinning the pieces and using the freezer paper to align the pieces accurately, it was best to remove the bottom piece and just stitch along the lines of the top piece. I still had a little trouble with making the points symmetrical, but I made a whole star in one day. Sewing the curved seam to attach the inner star to the outer ring brought back memories of setting sleeves from my dressmaking days. The finished star was gorgeous. It also measred precisely 25 inches across. I rechecked the number of stars needed. My calculations seemed to be right.
The outer ring was much easier, as the points were bigger and I could practically breeze through it after the smaller center star. I could maneuver the larger pieces more easily and the freezer paper stabilized them. I also learned that, after pinning the pieces and using the freezer paper to align the pieces accurately, it was best to remove the bottom piece and just stitch along the lines of the top piece. I still had a little trouble with making the points symmetrical, but I made a whole star in one day. Sewing the curved seam to attach the inner star to the outer ring brought back memories of setting sleeves from my dressmaking days. The finished star was gorgeous. It also measred precisely 25 inches across. I rechecked the number of stars needed. My calculations seemed to be right.
But cutting the fabric from the templates was not working well for the small star--the pieces were just too small and there was no room for error. Also, it seemed like I was constantly pulling off freezer paper and having to iron it back on. To say nothing of toasting my fingers and worrying about my electricity bill. I decided to try paper piecing, as a friend of mine from our quilting group kept assuring me it was the "way to go".